Painting is one of the easiest and most cost-effective ways to transform your home, whether you’re looking to refresh a single room or update your entire house. With the right techniques and a little preparation, you can achieve a professional-looking finish without hiring a contractor. In this guide, we’ll walk you through everything you need to know about painting your home, from selecting the right color to mastering application techniques.
1. Choosing the Right Paint Color
Selecting the perfect paint color is often the hardest part of the process. The color you choose will set the tone for the entire room, affecting the mood, lighting, and overall aesthetic.
- Consider the room’s purpose: For calming spaces like bedrooms or bathrooms, opt for soothing colors like blues, greens, or soft neutrals. In social areas like the living room or kitchen, you may want to use warmer tones like beige, light grays, or even bold accent colors like deep blues or reds.
- Test your colors: Always sample paint colors before committing. Paint small swatches on your walls and observe how the color looks at different times of day in various lighting conditions.
- Consider finishes: Flat and matte finishes work well for hiding imperfections but can be harder to clean. Eggshell and satin finishes offer a bit of sheen and are more durable, making them great for high-traffic areas. Glossy finishes are best for trim and doors.
2. Preparing the Room for Painting
Preparation is key to achieving a flawless finish. Proper prep work can save you time and frustration down the line.
- Clear the room: Remove as much furniture and décor as possible. Cover any remaining items with plastic sheets and use drop cloths to protect floors.
- Clean the walls: Dirt, dust, and grease can prevent paint from adhering properly. Wipe down the walls with a damp cloth or mild detergent to ensure they are clean.
- Repair imperfections: Use spackle or patching compound to fill in any holes, cracks, or dents. Once dry, sand the area smooth.
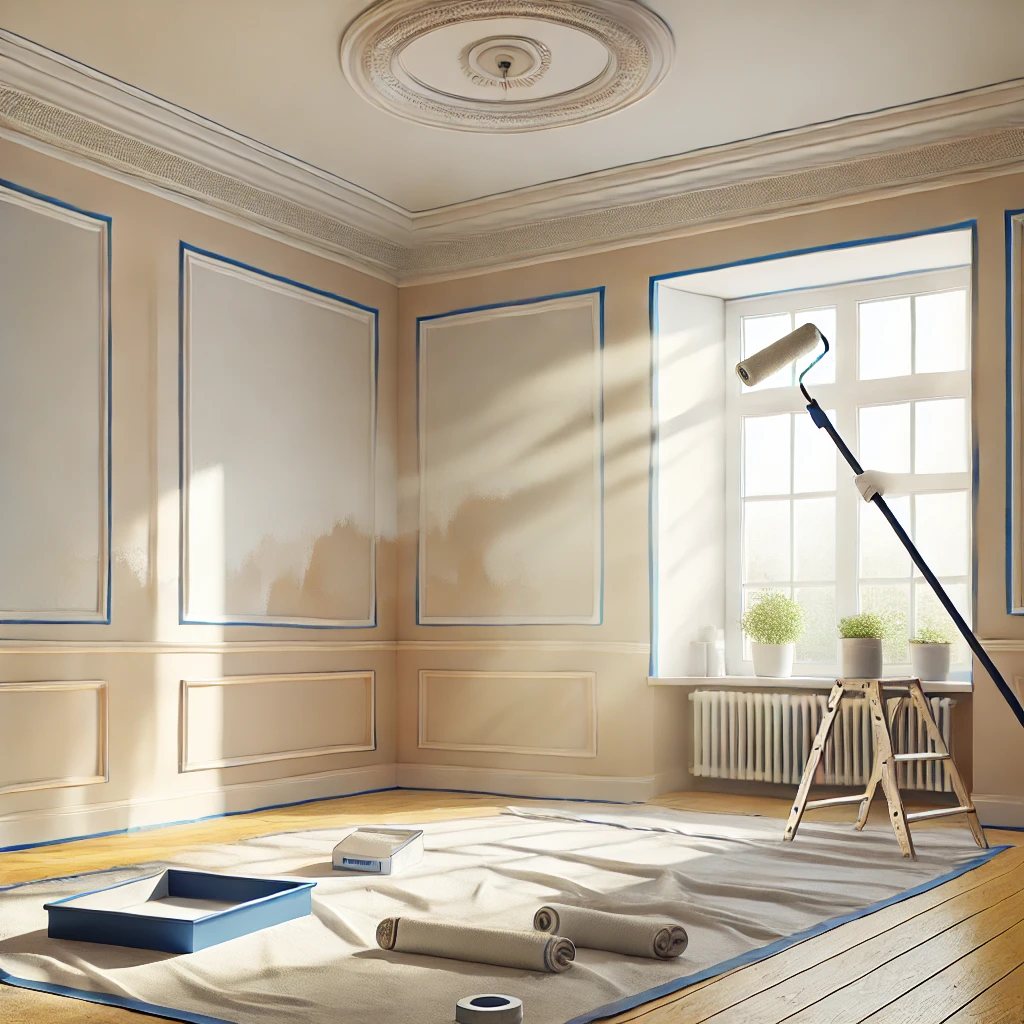
- Tape off trim and edges: Use painter’s tape to protect trim, windows, door frames, and ceilings. Press the tape firmly to ensure clean, sharp edges.
3. Selecting the Right Tools
Using the right tools can make all the difference in the quality of your paint job. Here’s what you’ll need:
- Brushes: Use angled brushes for cutting in around edges and trim, and flat brushes for detail work. Choose high-quality brushes to avoid bristles falling out during painting.
- Rollers: Rollers are ideal for covering large areas quickly. Choose a roller nap based on your wall’s texture; a shorter nap is suitable for smooth walls, while a longer nap is better for textured surfaces.
- Paint trays and liners: These make it easy to load your roller with the right amount of paint while keeping your workspace clean.
- Extension pole: For high walls or ceilings, an extension pole can save you from climbing a ladder repeatedly.
4. Mastering the Application Technique
Achieving a smooth, even finish requires the right technique. Follow these steps for professional-looking results:
- Start with cutting in: Before using a roller, cut in around the edges of the room with a brush. This includes painting around the ceiling, trim, and any corners or edges where a roller won’t reach. Work in small sections to avoid noticeable brush marks.
- Roll in sections: Once the edges are done, use a roller to fill in the larger areas. Roll in a “W” or “M” pattern, then fill in the gaps. This ensures even coverage and avoids streaks. Avoid overloading the roller with paint to prevent drips.
- Maintain a wet edge: To prevent lap marks, always maintain a wet edge while rolling. This means slightly overlapping each section while the paint is still wet.
- Apply multiple coats: Depending on the color and type of paint, you may need to apply two or more coats for full coverage. Allow each coat to dry completely before applying the next.
5. Handling Common Painting Challenges
Even the best-laid plans can run into challenges. Here’s how to address some common painting issues:
- Drips and runs: If you notice paint dripping or running down the wall, immediately smooth it out with a brush or roller. If the paint has already dried, sand it down and touch up the area.
- Roller marks: If you see roller marks after painting, lightly sand the area with fine-grit sandpaper once it’s dry and apply another coat.
- Uneven coverage: If your paint looks uneven or blotchy, apply another coat. Darker colors often require multiple coats for uniform coverage.
- Paint bleeding under tape: If you find that paint has bled under your painter’s tape, wait for the paint to dry, carefully remove the tape, and use a small brush to touch up the edges.
6. Cleaning Up Like a Pro
Once your painting project is complete, proper cleanup ensures your tools are ready for the next job and your room is back to normal:
- Clean brushes and rollers immediately: For latex paints, rinse your brushes and rollers in warm, soapy water. Oil-based paints require mineral spirits or paint thinner for cleanup. Make sure to remove all paint from the bristles and roller fibers.
- Dispose of paint properly: Check your local regulations for disposing of leftover paint. Many communities offer recycling or disposal programs for unused paint.
- Remove tape carefully: Peel off painter’s tape at a 45-degree angle while the paint is still slightly wet to avoid peeling off any dried paint along with it.
7. Final Touches
After the paint has dried and the room is put back together, add some finishing touches to perfect your new look:
- Touch up any missed spots: Walk through the room with a critical eye to catch any areas that may need a final touch-up.
- Admire your work: Once everything is dry and in place, step back and enjoy the transformation. A fresh coat of paint can breathe new life into any room and give your home a completely new feel.
Final Thoughts
Painting is one of the most affordable ways to refresh your home’s interior and make a big impact on your space. With the right preparation, tools, and techniques, you can achieve professional-quality results that last. Whether you’re tackling a small project or planning to repaint your entire home, this guide will help you approach it with confidence and get the job done right.